In this article we will see how we can Install MemcacheD for PHP on Ubuntu.
Memcached is very useful for increasing the site performance. There are several ways in which you can increase the site performance with MemcacheD, I have already written one of the way on this site which you can find at Save Session in Memcached.
Memcached is a standalone daemon which runs on your machine as service just like the apache.
So let’s start with installation of the memcached.
Install MemcacheD
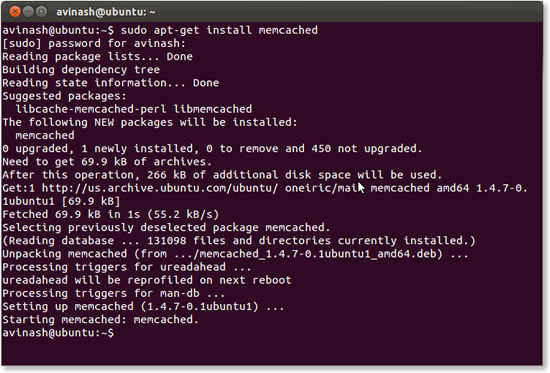
At very first we need to install Memcached service on machine. All you need to do is execute below command. You will need root privileges for the same.
[cc lang=”apache”]
sudo apt-get install memcached
[/cc]

By default Memcached service runs on 11211 port. You can change it to what ever you want.
Install PHP Extension for Memcached
So now memcached service is installed in your machine. Now if you want to make it run with the PHP then you need to Install PHP extension for Memcached.
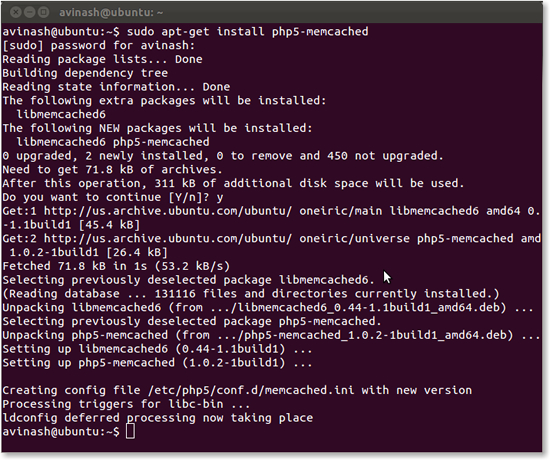
All you need to do is perform below command in terminal.
[cc lang=”apache”]
sudo apt-get install php5-memcached
[/cc]

By default Memcached service runs on 11211 port
Restart Apache/PHP
After installing the service it’s time to reload the configuration. We can perform the same by restarting the apache. You need to perform below command.
[cc lang=”apache”]
sudo service apache2 restart
[/cc]
We can get this changes in effect by restarting php service also. You need to perform below command for the same.
[cc lang=”apache”]
sudo service php5-fpm restart
[/cc]
Once you restart the apache or PHP all you need to check you php configuration using [code]phpinfo();[/code]. You will see below block on your configuration page.

Share if you have any comments on above process.
There are many things to get yet, so Follow us on Twitter, Like us on Facebook and Subscribe via Email to stay updated.


[…] one of earlier article we have seen about installing MemcacheD on Ubuntu. Now in this article we will see how to install APC on Ubuntu for […]